Fornost: Wraith of Earth
| Level: | 25 - 150 |
| Size: | Fellowship |
| Cluster: | Shadows of Angmar |
| Region: | North Downs |
| Area: | Fornost |
| Location: | [6.1S, 55.3W] |

Wraith of Earth is a World Instance within Fornost, in the North Downs. [6.1S, 55.3W]
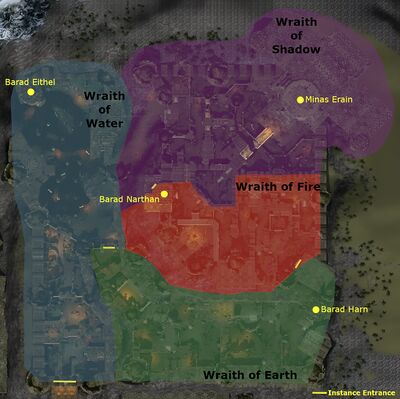
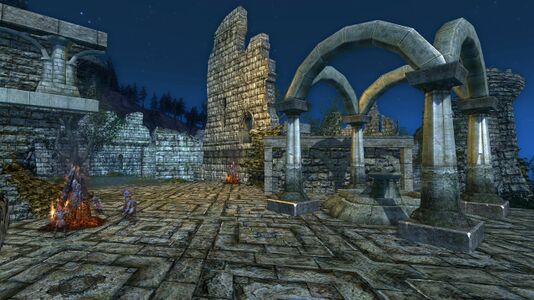
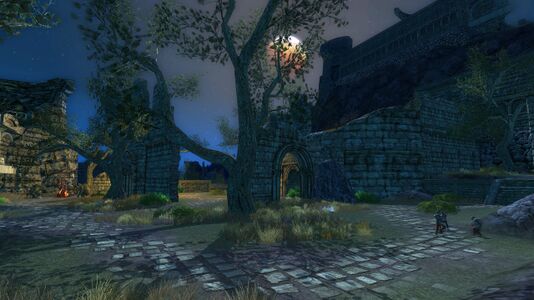
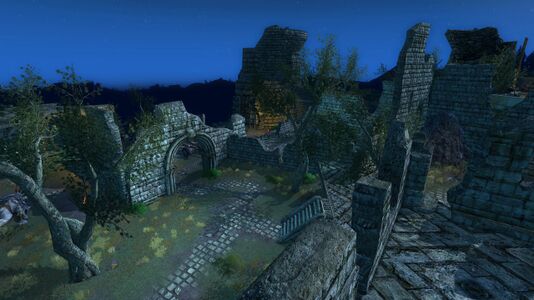
This is the second of four instances within Fornost dividing the upper city into 4 quadrants each with their own Tower and Wraith. Rhavameldir, the wraith of earth, rules what makes up most of the southern ruins of the city. He and his forces represent the raw strength of earth as siege weapons and towering trolls are found throughout his ward.
Access is granted after completing the deed Fornost -- The Gate to Earth (defeating Megoriath in the Wraith of Water instance). Within this instance, defeating Rhavameldir completes the deed Fornost -- The Gate to Fire and opens the way to Fornost: Wraith of Fire and, beyond that, the fourth instance (Fornost: Wraith of Shadow).
Difficulty Level
This is a scaled instance, designed for a fellowship from level 25 and up.
It is available in the Instance Finder, but just outside the entrance is a Camp Site Fire which serves all instances.
The layout of Wraith of Earth is mostly linear though there are some optional short pathways that lead to optional quest objectives or the odd group of enemies. The main thing of note is the last boss has quite a few adds that can ramp up over the fight if not dealt with accordingly (unless you are going for the challenge).
Estimated completion time is between 15 - 20 minutes.
Landmarks
Quests

Starting:
- [...] The Jern-elyg
- [...] Rhavameldir, the Wraith of Earth
- [...] Weapons of War
- [150] Challenge: Pillars of Earth
Involving:
- [26] Fornost: The Darkness Within
- [26] Fell the Trolls
- [26] Stem the Invasion
Deeds
Mobs
These mobs are encountered within this instance:
Instance Overview
- First Boss:
 Warchief Búrzghâsh
 - Second Boss (Optional):
 Gurkâmâb
 - Final Boss:
 Rhavameldir
Walk-through and Tactics
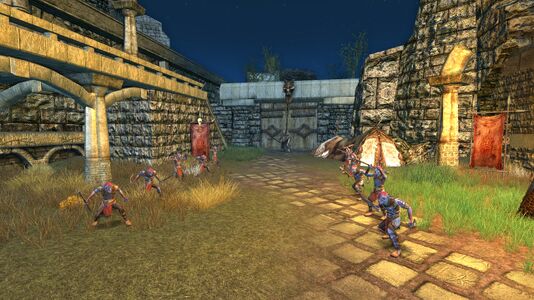
The very beginning of the instance is a boss fight. Go into the room and encounter Warchief Búrzghâsh. Make general boss preparations for this, and then approach him. He will summon adds.
- For tier 1 go ahead, and kill these. The orc archers now stack so it is best to kill them as well. Then the War-chief joins in, kill him too.
- For tier 2 the fight is a little more tricky. CC is your very best friend in this. If you kill the adds the warchief hits like a truck, he one shots guardians on crits and you will not last. The goal is to find a manageable balance between adds, and the warchief. Killing 4 will only give the warchief a +80% damage, and makes the adds more manageable for your LM if you have one.
After that you will head into the troll area. The adds should be no problem. Proceed through the area till you see one goblin in a gate, he will run back to get help from more trolls.
- For tier 2, Gurkâmâb is right next to them. Burn him down within a minute and a half, or he will gain a +400% damage buff and much like the war-chief he will hit like a truck.
After dealing with Gurkâmâb & Co. continue through till you get to Barad Harn. Clear out all the adds you can reach, and then flip the switch. This will unlock the room to the left of the entrance. Kill the trolls here, and move on to the room across from it. After that the gate on the far side from the entrance will unlock. Proceed through and climb up the stairs to the next level.
Fight your way to the stairs, and climb up to the third level. Here you will encounter Rhavameldir. He will summon adds and one troll. Kill the adds first and then move on to the boss. Eventually all will go down, and you can get your loot, and proceed out of the exit to the west.
Challenge
To complete the challenge, Rhavameldir must be defeated without killing any of his adds. This is simply a dps race but you can use what CC you have available at your disposal to reduce the damage from all the adds. Focus Rhavameldir and utilize any and all cooldowns necessary to survive.
Rewards
- For older (outdated) drops, see Warchief Búrzghâsh and Rhavameldir respectively.
| General |
|---|
| (Rare) Tracery (T2) |
| (Rare) Dextrous/Enduring/Resolute/Steadfast/Valorous Armour/Jewellery/Weapons |
Map
Gallery
-
Warchief Búrzghâsh and his minions
-
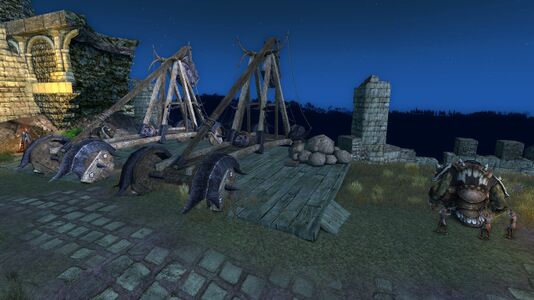
Trebuchets primed to repel invaders
-
Gurkâmâb's court among the ruins
-
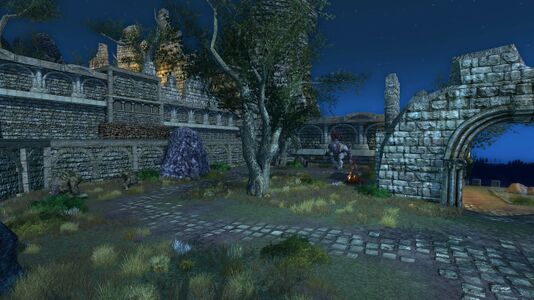
A dried up fountain in a time-worn plaza
-
The southeastern ruins of the city of Fornost
-
Overhead view of the instance

