Garth Agarwen: Arboretum
| Level: | 32 |
| Size: | Small Fellowship |
| Cluster: | Shadows of Angmar |
| Region: | Lone-lands |
| Area: | Garth Agarwen |
| Location: | [29.2S, 24.8W] |
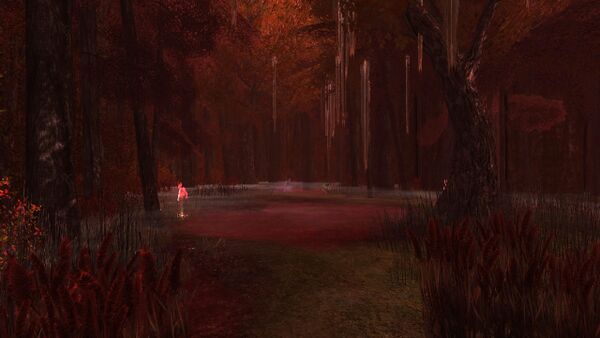
Garth Agarwen: Arboretum is a World Instance within Garth Agarwen, in the Lone-lands. [29.2S, 24.8W]
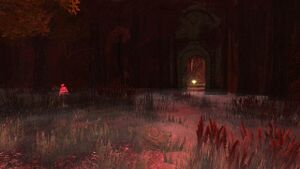
The gate to these decayed gardens are found in the south-west side of the courtyard where Temair the Devoted is located. Perhaps there was once beauty to be beheld among these trees, but now the corrupted huorn, Grimbark, spreads its affliction throughout the vegetation inviting all manner of Dead into it. Even the Créoth seem to avoid these defiled grounds, with not a single of the hill-men in sight.
Difficulty Level
This is designed for small fellowships (up to 3 players) around level 32.
It is available in the Instance Finder.
Arboretum is the easiest of the 3 Garth Agarwen instances and could even be soloed by most classes on or near level. It has a simple layout with only the last boss having any notable abilities. Since it does not scale, it quickly becomes trivial for higher level players.
Estimated completion time is between 10 - 20 minutes.
Quests
Starting:
- [32] Challenge: Grimbark - Small Fellowship
- [32] Optional Objective: Bog-lurkers - Small Fellowship
- [32] Optional Objective: Darkwater - Small Fellowship
- [32] Optional Objective: Key Locations
- [32] Optional Objective: Wights - Small Fellowship
Involving:
- [32] Grimbark's Reclamation
- [35] Rings of Rhudaur
Mobs
These mobs are encountered within this instance:
Instance Overview
Walk-through and Tactics
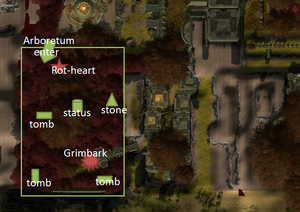
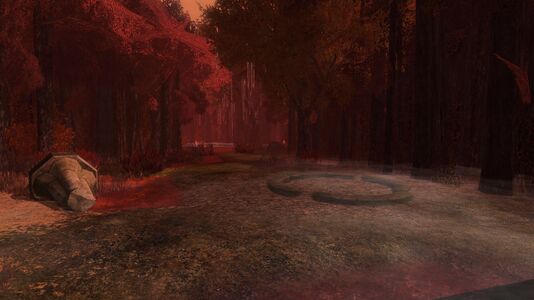
This instance begins with a clearing where the only way appears to be to the left, however the path straight will reveal a tree gateway that "springs up" when approached. Before proceeding, keep in mind that Rot-heart is an elite master, and patrols in the large circle around the instance entrance, and interior. Waiting for Rot-heart to come may be slow, but it is better than being ambushed by the bog-prowler mid-combat.
After Rot-heart's defeat you can begin exploring. Going straight leads to a large clearing, reaching all the way to the southern end of the instance. Fighting through this clearing is a dead end, but it does have one of the three tombs mentioned in the key locations objective. Taking a left in the clearing is another "bush-tree" incident, which will lead you to some pillars. Around these pillars near the clearing is another tomb, and on the other side is a chest. After this leads to another "bush-tree" action, to a straight away. Taking a left will lead you back to the beginning, completing the circle.
Now at the entrance, again, go back to the straight away mentioned before. This straight-away, is all lot like the clearing before, but passages are blocked by the trees (which will become passable when you approach). There are a total of 4 passage ways here: one leading to the pillar room; another one right next to it leading to the memorial in the optional objectives; one more on the opposite side of the straightaway leading to the stone; and the last one on the south end of the straightaway. After exploring these as you like, go to the south one, which is under the structure which used to be the bridge to the Fortress (in olden days). This is a rather straight path, which contains the last tomb within. After which will finally lead to Grimbark.
Grimbark
- Spawns Maddened Beehives repeatedly during fight. Abilities are:
- Swarm of Bees
- Debuff on party for 20% less attack speed.
- Heal Grimbark over time.
- You must NOT defeat the beehives in order to complete the instance challenge.
- Grimbark does not move from its position, instead opting for weaker range attacks when not in melee.
- Spawns Thrashing Red-root adds when its health drops to 50%.
Rewards
| Rot-heart |
|---|
| Grimbark |
|---|
Maps
Gallery
-
Just within the entrance of the arboretum
-
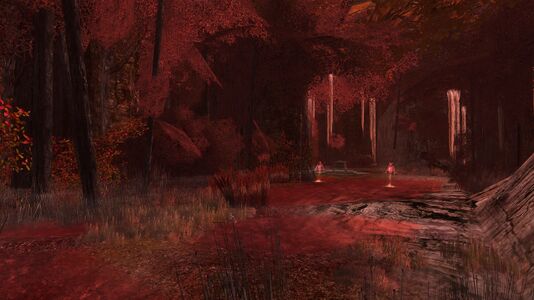
Red-hued passage through the garden
-
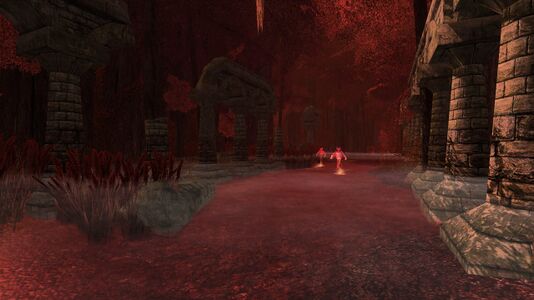
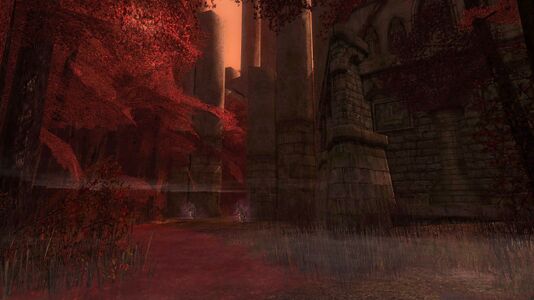
Pillars in the gardens
-
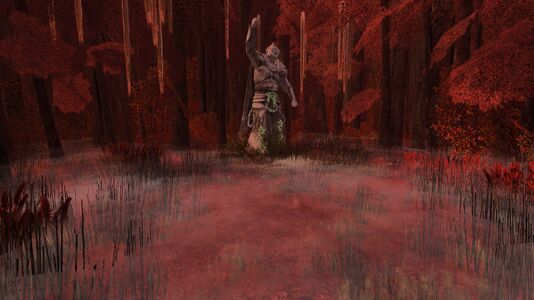
Old statue of Rhudaur
-
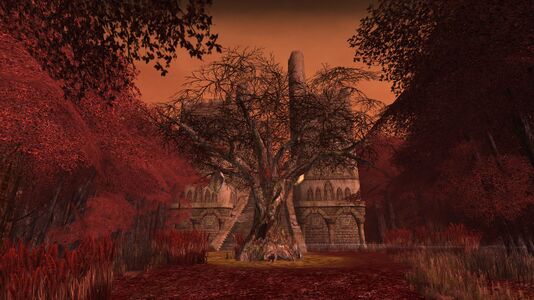
Ruins lead the way to Grimbark
-
Grimbark's glade within the arboretum
| Settlements, Areas and Landmarks of the Lone-lands
| ||
|---|---|---|
| Areas: | Agamaur • Annunlos • Garth Agarwen • Haragmar • Harloeg • Minas Eriol • Nain Enidh • Talath Gaun • The Weather Hills | |
| Settlements: | The Forsaken Inn • Ost Guruth | |
| Landmarks: | Amon Ros • Barad Iachiant • Bleakrift • Candaith's Encampment • The Circle of Blood • Dol Vaeg • Echad Sûl • Eglain Camp • Garth Agarwen Gate • Glumhallow • Gondrinn • Ivar's Crypt • The Last Bridge • The Lornspan • Mitheithel • Mithrenost • Naerost • Nan Dhelu • Nindor • Ost Cyrn • Ost Haer • Ost Laden • The Outer Gates • Skirmish Camp • Spring of the Red Maid • Thandobel • Tornstones • Weatherfoot • Weathertop | |
| Interiors: | Barad Dhorn • The Forsaken Inn • The Lore-tower | |
| Dungeons: | Iorvinas | |
| Instances: | World: Arboretum • Barrows • Fortress • Inn of the Forsaken / Skirmish: Stand at Amon Sûl / Quest: A Burglar's Errand | |

