Great Barrow: The Maze
| Level: | 20 - 150 |
| Size: | Fellowship |
| Cluster: | Shadows of Angmar |
| Region: | Bree-land |
| Area: | Southern Barrow-downs |
| Location: | [33.8S, 55.8W] |
Great Barrow: The Maze is a World Instance within the Great Barrow of the Southern Barrow-downs in Bree-land. [33.8S, 55.8W]
This is the first of three instances within the Great Barrow; the following are Great Barrow: Thadúr and Great Barrow: Sambrog.
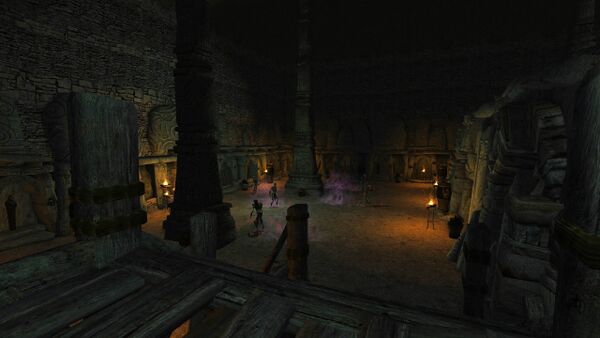
The maze, rightfully name, is a winding series of dimly lit catacombs and burial chambers where the dead walk once again. These shambling corpses are commanded by a duo of ancient warrior brothers who await deep within the labyrinth.
Difficulty Level
This is a scaled instance, designed for a fellowship from level 20 and up.
It is available in the Instance Finder.
Being one of the first instances a player will encounter, nothing within the Maze is particularly difficult. There are some light mechanics to the bosses that serve as a good introduction to instance mechanics.
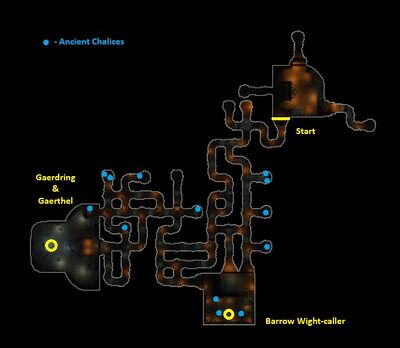
Bosses have adds, there are ground hazards to avoid, but it doesn't get much more complex from there. The most difficult part of the instance is navigating without a map.
Estimated completion time is between 10 - 30 minutes depending on the skill of the group and knowledge of the maze-like tunnels.
Quests
Starting:
- [...] Ancient Barrow-wights
- [...] Ancient Flames
- [...] Crawling Arms
- [...] Gaerdring and Gaerthel
- [...] Grim Tomb-wights
- [150] Challenge: Gaerdring and Gaerthel
Involving:
- [23] Collecting History
- [24] Purging the Dead
Mobs
These mobs are encountered within this instance:
Instance Overview
- First Boss:
 Barrow-wight Caller
 - Final Boss:
 Gaerdring and Gaerthel
Walk-through and Tactics
- Trash pulls
The majority of fights in the instance are straightforward, but keep an eye out for any patrolling Ancient Barrow-wights, which are stronger and have more morale than the other mobs. There are also a few locations where enemies spawn from the ground abruptly, so don't run ahead of the tank if you don't know which areas are safe.
The fight will reset if the caller or any of his summoned adds reach the top of the stairs.
His room is full of Ancient Barrow-wights which do not reset, and should be cleared out first to make the fight easier. Use ranged skills to pull one or two of them at a time and take them upstairs where the caller will reset (but the Ancient Barrow-Wights will not).
Once the room is empty other than the caller, everyone should head down into the room. The caller will summon 2 Grim Tomb-wights at the beginning of the fight. Take these out first, as the caller will summon more adds when his morale is low.
At about 20% morale, the caller will temporarily go inactive and summon 2 Devouring Barrow-crawlers that cause knockback. Stay off the stairs to avoid flying upstairs and accidentally resetting the fight.
The large crawlers in turn summon Bloated Barrow-crawlers that randomly target a player and burst into poison clouds. You can try to get out of the clouds, but the room will quickly be covered in them and they do more damage to moving players, so it's better to remain stationary if possible.
- After a short intro, Gaerdring will attack with range at a random player first while Gaerthel remains inactive.
- Extra wights and arms will spawn until Gaerdring dies. These mobs should be picked up before they attack the healer.
- Once Gaerdring dies, the adds will stop spawning and Gaerthel will become active.
- Gaerthel deals higher melee damage than Gaedring so the tank will need more heals to compensate.
Rewards
| General |
|---|
| (Rare) Tracery (T2) |
| (Rare) Dextrous/Enduring/Resolute/Steadfast/Valorous Armour/Jewellery/Weapons |
Map
Gallery
-
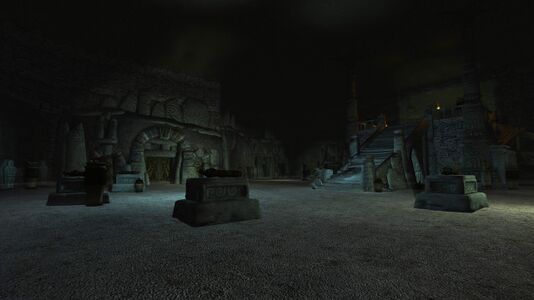
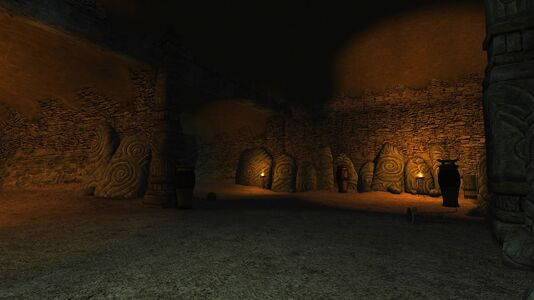
Final chamber of the Maze
-
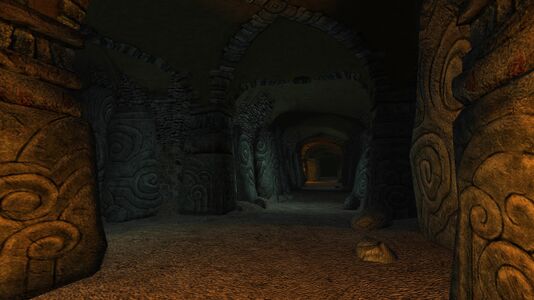
The many hallways in the labyrinth contribute to its namesake
-
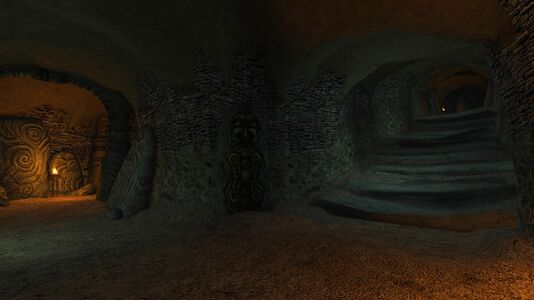
There is a sense of verticality in the barrows with many staircases
-
Urns are scattered across the barrow
-
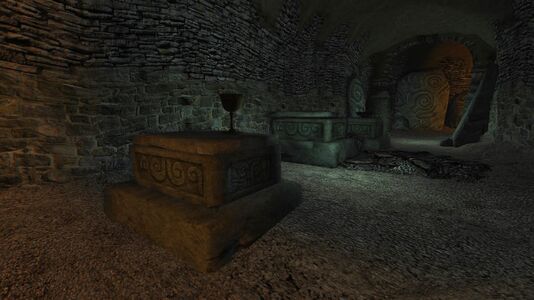
Sarcophagi lining a hallway
| Settlements and Landmarks of the Barrow-downs
| ||
|---|---|---|
| Landmarks: | The Barrow of Orron • The Dead Man's Perch • The Dead Spire • The Great Barrow • Northern Barrows • Northern Barrows Pass • Old Barrows Road • Ost Gorthad | |
| Dungeons: | The Barrow of Ringdor • The Barrow of Taradan • Goetham • Gwantham • Haudh Iarchith • Haudh Methernil • Haudh Nogbenn • Haudh Taenthond • Hautham • Tomb of Maenadar | |
| Instances: | The Great Barrow: The Maze • Sambrog • Thadúr | |

