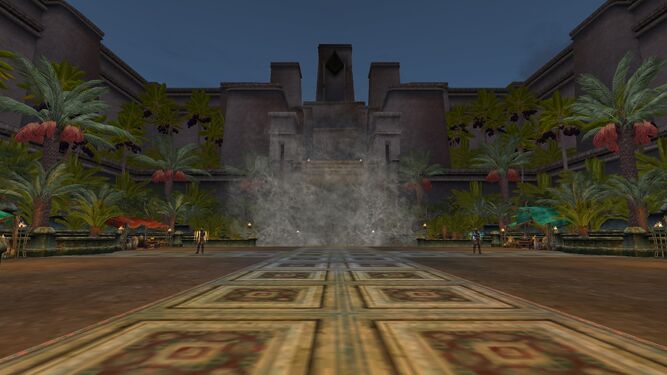
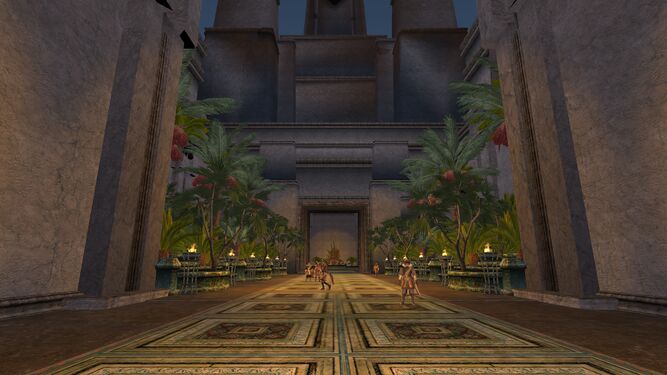
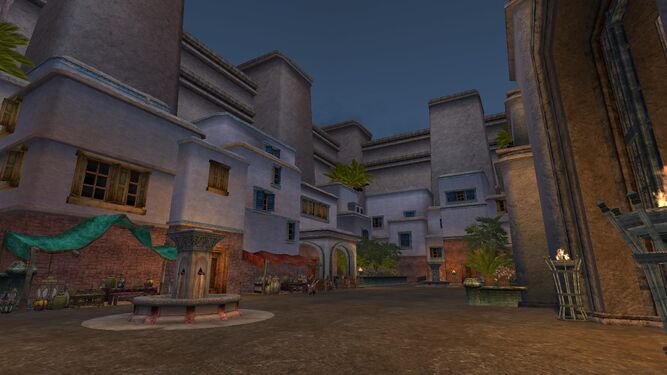
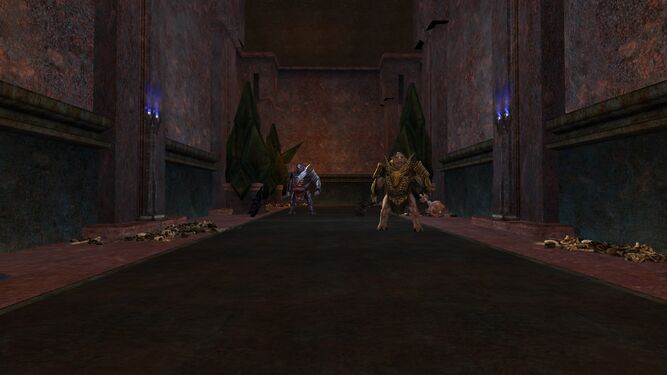
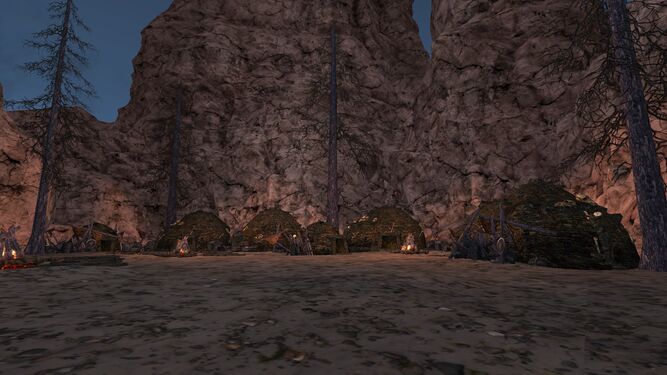
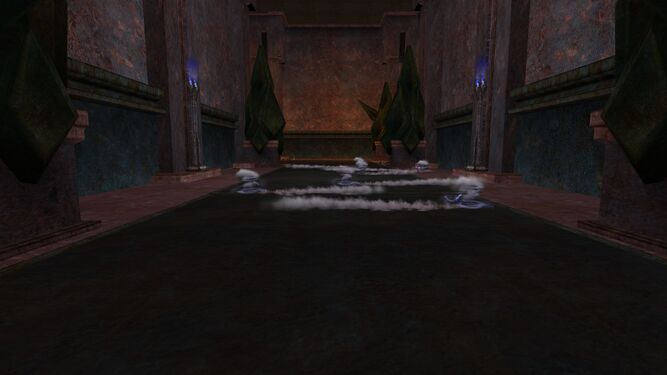
Tûl Zakana, the Well of Forgetting
- This page is about the 6-man instance. For the landmark of Tûl Zakana, see Tûl Zakana.
| Level: | 150 |
| Size: | Fellowship |
| Cluster: | Legacy of Morgoth |
| Region: | The Valley of Ikorbân |
| Area: | Imhûlar |
| Location: | [40.8S, 56.8W] |

- "Deep in the war-torn lands of Imhûlar, locals warn you of an Ordâkhai encampment, a trading post of sorts. It is known as Tûl Zakana, the Well of Forgetting, whose waters will make you forget your troubles, and, if you drink enough, even who you are. But unless you are trading for this water, it's best to stay quite clear of the Well, for many have vanished near it, never to be seen again. You are now tasked by the families of the vanished with investigating the Well and its secrets."
Location
This instance is part of the Legacy of Morgoth Instance Cluster.
It is available in the Instance Finder.
Difficulty Level
This is a non-scaled instance with a minimum level of 150, designed for a solo, duo and fellowship. The instance is available at level 150.
Estimated completion time is between 10-15 minutes solo or on tier 1 in a group, and about 30-40 minutes on tiers 2-3.
Enemy stats are altered depending on the tier of the instance:
 Enhancement -- Solo/Duo in Solo/Duo.
 Enhancement -- Tier 1 in Tier 1.
 Enhancement -- Tier 2 in Tier 2.
 Enhancement -- Tier 3 in Tier 3.
Note that Tier II Modifiers are the same as previous Tier III Modifiers, and Tier III Modifiers are the same as previous Tier V Modifiers.
Quests
Deeds
Creatures
These mobs are encountered within Tûl Zakana, the Well of Forgetting:
- Click [+] to expand a list of creatures.
Instance Overview
- Boss 1: The Pahór-korat, the Hands of Forgetting (Daiko and Bauko)
- Side Boss: Gorthorog Devastator
- Boss 2: Mûkh Bahora, the Mouth of Forgetting (Crocodile, Lynx, Spider, and Orc visions)
- Boss 3: Bahádring the Unmindful
Walk-through and Tactics
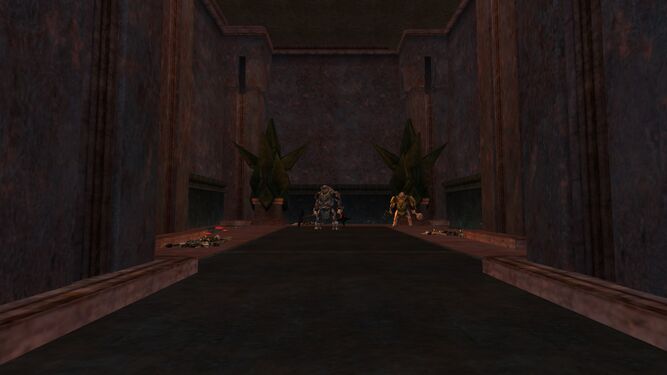
Daiko and Bauko are positioned on different sides of the arena, and never move. Each has a large Puddle underneath them, such that the entire arena is filled up by them, and neither Puddle overlaps. ![]() Parched Earth is beneath Daiko, which buffs melee damage, and
Parched Earth is beneath Daiko, which buffs melee damage, and ![]() Treacherous Earth is beneath Bauko, which buffs ranged/tactical damage. While standing in one of these Puddles, you gradually tier up a potent DoT.
Treacherous Earth is beneath Bauko, which buffs ranged/tactical damage. While standing in one of these Puddles, you gradually tier up a potent DoT.
Watch out for the tiering up DoTs (![]() Daiko's Curse and
Daiko's Curse and ![]() Bauko's Curse), and make sure the stack doesn't get too high. Ranged classes should stand near the middle of the arena so that they can swap sides frequently to prevent their stacks from tiering too high. They should also try to stay as much as possible in the
Bauko's Curse), and make sure the stack doesn't get too high. Ranged classes should stand near the middle of the arena so that they can swap sides frequently to prevent their stacks from tiering too high. They should also try to stay as much as possible in the ![]() Treacherous Earth Puddle. Melee classes will have a more difficult time dealing with the stacks. A good rule-of-thumb is to run to the other Puddle every ~20 seconds, then run back to the Boss you were fighting. You run the risk of dying if you stay too long on one side.
Treacherous Earth Puddle. Melee classes will have a more difficult time dealing with the stacks. A good rule-of-thumb is to run to the other Puddle every ~20 seconds, then run back to the Boss you were fighting. You run the risk of dying if you stay too long on one side.
At all points in the fight, one of the bosses will have ![]() Blessed Brother, and the other will have
Blessed Brother, and the other will have ![]() Brother's Keeper. Every so often (depending on the instance's tier), the buffs will swap between Bosses. Make sure that the group is ALWAYS targeting the Boss with
Brother's Keeper. Every so often (depending on the instance's tier), the buffs will swap between Bosses. Make sure that the group is ALWAYS targeting the Boss with ![]() Blessed Brother, as the Boss with
Blessed Brother, as the Boss with ![]() Brother's Keeper takes essentially no damage. A target assist is highly recommended for this fight.
Brother's Keeper takes essentially no damage. A target assist is highly recommended for this fight.
The Bosses periodically use an ability called Find Enemy. It does a lot of damage, so be prepared to heal through it, and use your personal defensives. There is no way to avoid this ability. On Tier 2+, the Bosses drop Puddles; make sure you run out of these Puddles ASAP, as they deal a massive amount of damage. On Tier 3, Daiko applies ![]() Feeling ill to random people (the yellow eye). Make sure you run this effect out of the group to drop the
Feeling ill to random people (the yellow eye). Make sure you run this effect out of the group to drop the ![]() Sickening Water Puddle that drops on expiration. Use a defensive ability to survive the expiration damage.
Sickening Water Puddle that drops on expiration. Use a defensive ability to survive the expiration damage.
To prevent the Bosses from gaining additional damage, at least one player must be on each side of the arena. The recommended approach to deal with this is to have the Tank stand in melee range of the Boss with ![]() Brother's Keeper, and swap sides when the group does.
Brother's Keeper, and swap sides when the group does.
When the Bosses get low health, they gain an induction called The Water's Kiss. Make sure to interrupt it, as it will buff the damage of the other Boss.
Once the first Boss is killed, the other one gains ![]() Broken Blessing, at which point the group should burn them down as fast as possible. It is not required to kill each Boss at the same time, and you should instead deal as much overall damage as possible.
Broken Blessing, at which point the group should burn them down as fast as possible. It is not required to kill each Boss at the same time, and you should instead deal as much overall damage as possible.
Trash
Most of the Ordâkhai enemies in this instance are harmless, although they can pack a punch if you group up too many of them. The kill order is as follows:
- 1: Ordâkhai Dôla
- 2: Ordâkhai Sorcerers
- 3: Everything else
The Dôla should be the first kill targets because they summon additional enemies, and they have healing abilities. If you don't target them first, it will take a lot longer to get through all of the enemies. The Sorcerers should be the next kill targets because of the Puddles they drop, which are the same as the Shadow Puddles in Boss 1. Sorcerers have the highest damage output of all the Ordâkhai, and there's an argument to be made in quickly killing them before going to the Dôla. It depends on how many enemies the Tank pulls, and if they group together or not.
The Gertheryg
Later on in the instance, you will encounter Gertheryg enemies: Crushers and Berserkers. Each of these have nasty abilities when they target a certain type of player type. Crushers are really dangerous for Tanks, as they will decrease their mitigations (![]() Broken Armour), deal burst damage, and reduce their maximum Morale (
Broken Armour), deal burst damage, and reduce their maximum Morale (![]() Weakened Morale). Berserkers are really dangerous when targeting non-Tanks, as they will decrease player damage and will deal big AoE damage. The intended solution to these mechanics is to have the Tank take aggro of the Berserkers, and let the DPS players hold aggro of the Crushers. When working through the trash, it doesn't really matter, and the strategy only needs to be considered on Tier 3 difficulty when fighting the final boss, who summons these enemies.
Weakened Morale). Berserkers are really dangerous when targeting non-Tanks, as they will decrease player damage and will deal big AoE damage. The intended solution to these mechanics is to have the Tank take aggro of the Berserkers, and let the DPS players hold aggro of the Crushers. When working through the trash, it doesn't really matter, and the strategy only needs to be considered on Tier 3 difficulty when fighting the final boss, who summons these enemies.
The Side-Boss of this instance, the Gorthorog Devastator, alternates between Crusher and Berserker stances. Just burn the Boss as quickly as possible, to prevent it from eventually killing your Tank while in Crusher stance.
Boss 2 - Mûkh Bahora, the Mouth of Forgetting
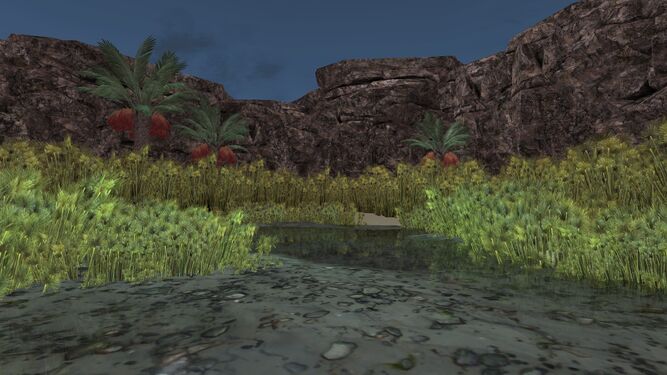
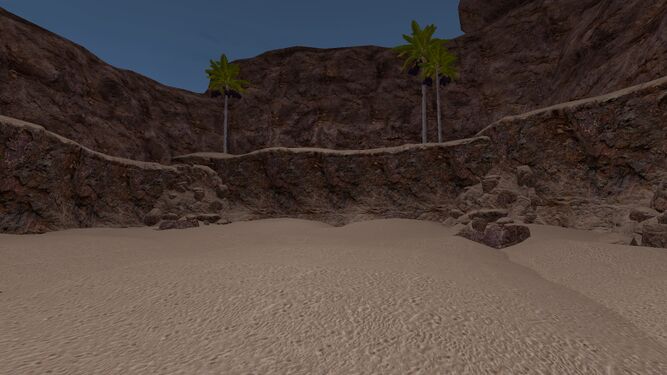
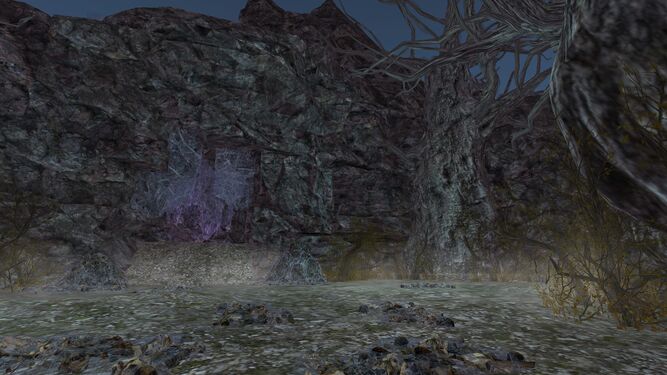
This fight takes place across 4 visions, each themed around one of the 4 different regions of the Valley of Ikorbân. Each vision consists of a Boss, and waves of adds that spawn every 45 seconds. Between each vision, you will have time to rest, allowing your cooldowns to be restored and letting your healer top everyone off.
Each vision includes a number of Shadow enemies, who have a purple tint to them and have the ![]() Shadow Creature buff. At the beginning of the entire fight, one of the DPS players will randomly be given a skill called
Shadow Creature buff. At the beginning of the entire fight, one of the DPS players will randomly be given a skill called ![]() Smite Evil, that allows them to immediately kill one the Shadow enemies. Use this ability at the start of each vision to make the adds easier to deal with, as the Shadow enemies deal extremely high damage, and have the potential to one-shot even the Tank.
Smite Evil, that allows them to immediately kill one the Shadow enemies. Use this ability at the start of each vision to make the adds easier to deal with, as the Shadow enemies deal extremely high damage, and have the potential to one-shot even the Tank.
The first vision is arguably the hardest, when you fight the Crocodiles. The Boss and the Giant Ambarûli Crocodiles apply ![]() Savage Bite to the Tank, which heavily decreases mitigations. Make sure the Tank uses their strongest cooldowns for this vision to be able to survive the Crocodiles. A good strategy is to pop something strong whenever you have at least one of these debuffs.
Savage Bite to the Tank, which heavily decreases mitigations. Make sure the Tank uses their strongest cooldowns for this vision to be able to survive the Crocodiles. A good strategy is to pop something strong whenever you have at least one of these debuffs.
The second and third visions are not particularly challenging, even on Tier 3 difficulty. In the third vision, the Boss applies ![]() Cocooned on random players, which needs to be cleansed for them to be freed from the trap. These visions should be easy as long as the Tank takes aggro of everything quickly and the Shadow enemies are killed promptly.
Cocooned on random players, which needs to be cleansed for them to be freed from the trap. These visions should be easy as long as the Tank takes aggro of everything quickly and the Shadow enemies are killed promptly.
The fourth and final vision is a DPS race, as the Boss' damage output is high and the adds are dangerous, especially on Tier 3. The Boss has two main abilities: Thrash and Death Bellow. Thrash applies ![]() Bleeding Strike to all nearby players, so when the Boss is inducting this ability, all melee classes should run away. Death Bellow applies
Bleeding Strike to all nearby players, so when the Boss is inducting this ability, all melee classes should run away. Death Bellow applies ![]() Death Bellow to everyone, no matter how far away they are. It can be cleansed on Tiers 1 and 2, but not on Tier 3. On Tier 3, the Tank should pop a cooldown when the Boss uses this ability.
Death Bellow to everyone, no matter how far away they are. It can be cleansed on Tiers 1 and 2, but not on Tier 3. On Tier 3, the Tank should pop a cooldown when the Boss uses this ability.
Boss 3 - Bahádring the Unmindful
The main mechanic of this fight revolves around the Well of Forgetting. Over the course of the fight, the Boss will apply stacks of various debuffs to the Tank, including: ![]() Burden of Fear,
Burden of Fear, ![]() Burden of Doubt,
Burden of Doubt, ![]() Burden of Jealousy, and
Burden of Jealousy, and ![]() Burden of Loss. The Boss also tiers up
Burden of Loss. The Boss also tiers up ![]() Memory of Contempt and
Memory of Contempt and ![]() Memory of Rage on himself over the course of the fight. These effects can only be removed by the Well.
Memory of Rage on himself over the course of the fight. These effects can only be removed by the Well.
Every so often, the Well of Forgetting becomes available for use. Run to a nearby lever and trigger the Well. Run into the Puddle around it to cleanse Burdens and Memories over time. Other players also gain a unique ability when exiting the Well that they can use. Most of these skills are mediocre at best, but the best one, ![]() Memory of Purification, can be used to deal heavy damage to the Gertheryg.
Memory of Purification, can be used to deal heavy damage to the Gertheryg.
Other skills are:
Speaking of the Gertheryg: starting at 30s and every minute afterwards, 3 Gertheryg spawn at the back of the room, including 2 Crushers and 1 Berserker. The Crushers will likely kill the Tank if they are not defeated fast enough.
There are a few other mechanics that need to be dealt with throughout the fight:
 Memory of Shame -- This effect, which is randomly applied to Non-Tanks, will expire to drop a large Shadow Puddle. When you get this debuff, run it away from the Left Corner and the Well, so try to drop it near the front of the room or in the back right corner. Also avoid dropping it too close to the levers to activate the Well.
 Conflagration of Misery -- This is a Tank debuff that upon expiration, explodes and kills anyone nearby. When the Tank gets this, call it out and move away from the group. Make sure that the melee classes don't follow. Once you explode, have the group move back up to the enemy group.
This fight is easy on Tier 1, and you can ignore all Gertheryg and the Well, and just focus on killing the Boss.
The recommended strategy for this fight on higher tiers is to start where the Boss spawns, and do a big damage burn on him. At about 25 seconds into the fight, move to the back left corner (the back right corner works as well, but requires the Tank to be better at quickly picking up aggro). When the Gertheryg spawn, quickly swap to kill the Crusher that spawns in the corner, and have the Tank pick up the two others that spawn at the back right. Once the Crusher is dead, swap back to the Boss and AoE down the remaining Crusher and Berserker.
The Tank must retain aggro of the Berserker, but the group can choose to have the other Crusher attack the DPS directly, especially if they are heavy armour classes like Champions or Beornings. When the Well becomes available, quickly bring the Boss over to remove some of the Memories, before returning to the corner for the next add wave. Repeat until the Boss is dead. When the Boss is getting to lower Morale, have the Support mez the Crusher that spawns on the other side, and just burn the Boss without swapping to kill the first Crusher.
Rewards
| Cloaks |
|---|
| Jewelry | |||
|---|---|---|---|
| Item | Light Drop |
Medium Drop |
Heavy Drop |
| x | |||
| x | x | ||
| x | x | ||
| x | |||
| x | x | ||
| x | |||
| x | x | ||
| x | |||
| x | |||
| x | |||
| x | |||
| x | x | ||
| x | |||
| x | |||
| x | x | ||
| x | |||
| x | |||
| x | |||
| x | |||
| x | |||
| x | x | ||
| x | |||
| x | x | x | |
| x | x | ||
| x | |||
| x | |||
| x | x | x | |
| x | x | x | |
| x | x | x | |
| x | x | x | |
| x | x | x | |
| Weapons | |||
|---|---|---|---|
| Item | Light Drop |
Medium Drop |
Heavy Drop |
| x | x | ||
| x | x | ||
| x | |||
| x | |||
| x | |||
| x | |||
| x | |||
| x | x | ||
| x | |||
| x | |||
| x | |||
| Essences | ||||
|---|---|---|---|---|
| Item | Solo/Duo | Tier 1 | Tier 2 | Tier 3 |
| x | x | x | ||
| x | x | |||
| x | x | |||
| Barter Items | ||||
|---|---|---|---|---|
| Item | Solo/Duo | Tier 1 | Tier 2 | Tier 3 |
| x | x | x | x | |
| x | x | x | ||
| x | x | x | ||
| x | x | x | ||
| x | x | |||
| Legendary Item Advancement | ||||
|---|---|---|---|---|
| Item | Solo/Duo | Tier 1 | Tier 2 | Tier 3 |
| x | x | |||
| x | x | |||
| x | x | x | x | |
| x | x | |||
| x | ||||
| x | ||||
| Random Incomparable Tracery | x | x | x | |
| x | x | |||
| x | x | |||
| x | x | |||
| Housing Items |
|---|
Gallery
-
Boss 1 Arena
-
Roads of Tûl Zakana
-
Courtyard within the City
-
The Gertheryg
-
Gorthorog Devastator
-
Boss 2 Arena
-
First Vision
-
Second Vision
-
Third Vision
-
Fourth Vision
-
Dodge the Whirlwinds
-
Boss 3 Arena

