Dungeons of Dol Guldur
| Level: | 65 - 150 |
| Size: | Fellowship |
| Cluster: | Tower of Dol Guldur |
| Region: | Mirkwood |
| Area: | Dol Guldur |
| Location: | [14.6S, 41.6W] |

"The Dungeons of Dol Guldur are famed for their terror. Thrain, father of Thorin Oakenshield, perished here... though not before passing his legacy to Gandalf the Grey..."
Description
The Dungeons of Dol Guldur is a 6-man instance in Dol Guldur, which is part of Mirkwood. The nearest summoning point is at Helethir. Unlike the other instances in Dol Guldur, there are no quests granted in Helethir that are completed within. Instead, all quests are granted upon entering the instance.
A modified version of this instance is also the setting for the epic quest Vol. II, Book 9, Chapter 16: The Dungeons of Dol Guldur.
Location
Quests
- [65] Chapter 16: The Dungeons of Dol Guldur
- [65] Vol. 2, Book 9 -- Epilogue: Braiglinn
- [150] Challenge: The Warden of the Dungeons (Daily)
Deeds
- The Warden of the Dungeons
- Liberation from the Merciless Dungeons
- Leave No One Behind
- There is a New Warden in the Dungeons
Instance Overview
This 6-man instance typically takes 60-90 minutes to complete. It exists of two parts: freeing prisoners from the wings and bringing them to the Main Hall, and then defeating the Warden. This is a challenging instance that requires attention and planning to complete. It is recommended to bring at least one healing class and one tanking class. Also, a Burglar is very useful for completing the challenge mode.
Map

The Wings
You start in the Main Hall. From here there are three wings: the West wing, the North wing and the East wing. Each wing has a certain layout with cells (numbered on the map above) in which you can find prisoners. Types of prisoners include:
- Elven prisoners who need to be freed. There are nine elves total, Hethulír, Bregrochon, Baingaleth, Thimuil, Glamrennel, Faelwen, Faenthír, Maediel, and Borihon, and they can be identified by the green morale indicator under their feet. These elves will begin following you as soon as you approach them, so do not approach them until you are ready to escort them out of the wing. If there are any broken prisoners or pale folk in the room with the elven prisoner, you must kill them or else they will kill the elven prisoner.
- Broken prisoners and pale folk who will attack you when freed. You can avoid aggroing them if you step back away quickly from the door once you open it. You do not need to kill broken prisoners or pale folk unless they share a cell with an elven prisoner, or if you need to duck into their cell to avoid being detected by the patrolling trolls.
There are also Guldur Keepers and Guldur Sentinels guarding some corridors in T2. You should kill these Uruks before freeing any elven prisoners so that you do not aggro them while escorting elven prisoners out (they may be kited back to the entrance ramp).
There are patrolling trolls who cannot be aggro'd, but who will capture you if they detect your presence (i.e. when you get too close to them). There is a single troll in the West Wing (pathing along the yellow arrows), two trolls in the North Wing (pathing along the yellow and green arrows), and three trolls in the East Wing (pathing along the yellow, green, and blue arrows). The first time a troll in a given wing notices a member of your party or an elven prisoner, they will lock you in a cell outside of the main hall, respawn all mobs in that wing, and randomly move the elven prisoners in that wing to new cells, closing those doors (only, other previously opened doors remain open). The second time a troll detects your presence in a wing, they will lock you in a cell outside the main hall, and in T2 seal that wing, along with all the elven prisoners within. This means you will not be able to free any of the elven prisoners in that wing. Note that trolls will not detect the presence of pets or heralds.
Cells can also contain Nightshade Barrels. These should be collected by your group and can be used to put the patrolling trolls to sleep temporarily (for about one minute). Use the barrels by clicking on them in your inventory, at which point they will drop an area of effect cloud on the ground. A single barrel can put multiple trolls to sleep as long as they path into its area of effect.
Clearing the Wings
The East Wing is the hardest, so generally it is best to start there. There are 19 cells in the East Wing, four of which will contain elven prisoners. Note that cell #10 always contains an elven prisoner. Carefully clear all the Uruks out of the hallways and open doors until you find all four elven prisoners. Elves in the southern cells (#1-9) will want to run out through the south hallway, while elves in the northern cells (#11-19) will want to run out through the north hallway, so it is best to clear the Uruks from all the hallways to be safe. The elf in cell #10 will randomly run either down the north or south hallway.
Once the first elven prisoner is freed, you only have about one minute to free all the rest of the prisoners in that wing before it is sealed, so make sure that all members of the group know which prisoners they are to escort, what the escorting path will be, and know who will be dropping barrels of Nightshade to put trolls to sleep and where.
The North Wing contains 15 cells and is a bit easier, since there are only two trolls pathing North/South and East/West. Like the East Wing, carefully clear the Uruks, open doors, and locate the three elven prisoners. A single barrel dropped directly in the center of the wing will easily put both trolls to sleep simultaneously.
The West Wing contains only 12 cells and is very easy, since there is only a single troll pathing clockwise around the wing. Locate the two elven prisoners, and then drop a barrel anywhere in front of the troll before escorting them out.
Preparing for The Warden
When the prisoners of all the wings are freed, proceed back to the Main Hall but stay clear of the Gate in the Northeast corner (approaching it will spawn The Warden). All of the freed prisoners will be standing around the main hall. Note the prisoners and their buffs. Some of them will have a healing aura that heals both you and their fellow elven prisoners, although they will not attack and will cower in fear in the Warden gets too close to them. Some of them are ranged DPS (they have bows). Some of them are tanks (they have shields) and can get aggro on the Warden.
All of the elven prisoners can be healed by your group using single-target heals (group/AOE heals won't work). This is important because the elven prisoners will take damage during the fight with the Warden, and if they are killed, you will not get credit for freeing them. Your group should make static tooltips for the elven prisoners by mousing-over them and hitting the 'H' key to make the tooltip static. The static tooltips can be used to watch their morale bars and also target them for heals.
Once you are ready, eat food and pop a token (the Warden has +4 Dread) before starting the fight.
The Warden
Approach the gate in the Northeast corner to initiate the fight. The Warden will come to the Main Hall to prevent you from escaping. Have whoever is tanking the Warden immediately get aggro and then kite him around the room and pull him behind a pillar in a corner. This will cause the elven prisoners to bunch up.
It is important that no elven prisoners be left by themselves, but rather they should always be clumped together in groups of three or more. This is necessary to mitigate a distributed attack by the Warden which will randomly target elven prisoners throughout the fight. An elven prisoner who is targeted by the distributed attack and is alone will be one-shot. When an elven prisoner is targeted, a red eye will appear above their head. It is possible to interrupt this attack by knocking down the Warden using the Burglar skills Exploit Opening, Trip or by using Marbles.
In order to complete the challenge quest Challenge: The Warden of the Dungeons (Daily), you must ensure that at least seven elven prisoners are freed and survive the Warden fight.
Tier 2 Challenge
Challenge is only accessible at max level.
Mobs and Boss
Loot
![]()
![]()
![]()
![]()
![]()
![]()
![]()
![]()
![]()
![]()
![]()
Gallery
-
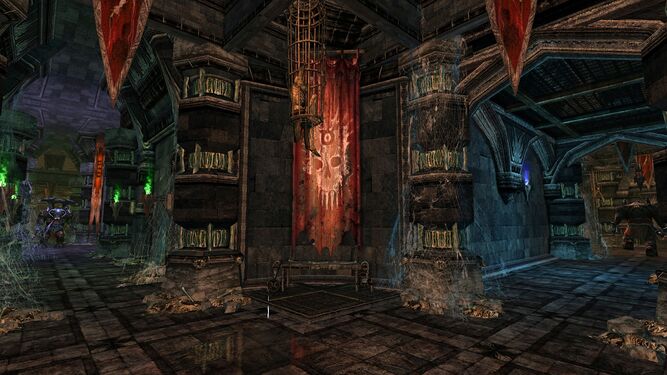 Olog-hai patrol every path...
 -
 A corner of the dungeon hallways
 -
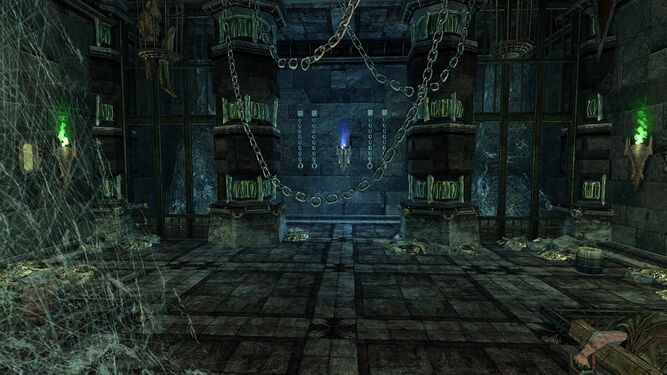 Bori's cell in the East Wing


![[14.6S, 41.6W]](/wiki/File:Mirkwood_map.jpg)
| Dol Guldur Instances
| ||
|---|---|---|
| Small fellowship: | Sword-hall of Dol Guldur • Warg-pens of Dol Guldur | |
| Fellowship: | Dungeons of Dol Guldur • Sammath Gûl | |
| Raid: | Barad Guldur | |