Eithel Gwaur
- This page is about the 3-man instance. For the location, see Eithel Gwaur, the Filth-well.
| Level: | 122 - 150 |
| Size: | Solo/Duo, Small Fellowship(3) |
| Cluster: | Minas Morgul |
| Region: | Morgul Vale |
| Area: | Rath Dúath |
| Location: | [66.9S, 7.5E] |

Location
- This instance is part of the Minas Morgul Instance Cluster.
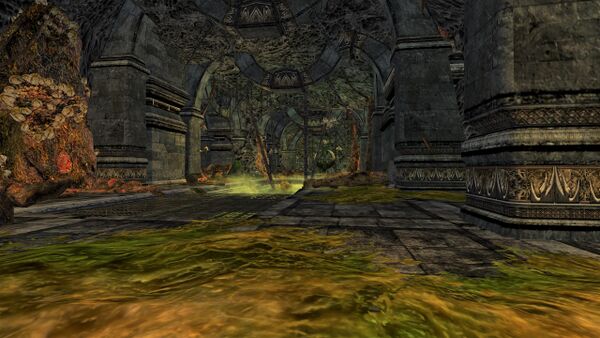
The Filth-well of Eithel Gwaur is the source of the corruption that has long tainted the flowing waters of the Ithilduin, giving to them a new name: Morgulduin, River of Sorcery.
Difficulty Level
- This is a scaled instance, designed for a Solo / Duo or Small fellowship (3 players) level 121 and up.
- It is available in the Instance Finder after completing Discovery: Eithel Gwaur, the Filth-well.
- Estimated completion time is between 30-60 minutes.
Quests
Deeds
Known Deeds for this instance (usually bestowed upon first entrance) include:
Creatures
These mobs are encountered within Eithel Gwaur:
- Click [+] to expand a list of creatures.
Instance Overview
Walk-through and Tactics
Balchneth - You'll want to drop down into the pit without activating him (just keep your back right up against the pit wall). You tank has to pop a defensive skill before activating him, and you'll all want to run in at the same time, with the tank just a short distance in front of dps and heal. Stand on one of the sides of the boss (Run through the pit to the other side if you happen to have a melee dps with you. Balchneth does frontal AoE directed at where you first jumped down) and never get separated more than 15m apart. Every so often, there's a huge spike distributed damage hit, you'll want to avoid taking this alone, it'll just kill you off on higher difficulty. Try to get as many targets as you can to distribute the damage (pets do count), it'll be much more survivable this way. Balchneth also does use a debuffing hit on his focus target placing two LoE-debuffs on the player. You'll want to remove the fear as soon as possible. Another debuffing hit the boss uses is slowing down a random player (both movement and skill execution). You can't really do anything against this. As soon as tentacles spawn, make sure to stick to one side of the room first, kill off all tentacles there, and then move over to the other side of the room if nessessary to kill off the rest of them. They are not all instantly activated, so be careful with AoE skills as to not activate more tentacles at the same time than nessessary. There's three tentacle spawns, at 75%, 50%, and 25% of Balchneths health.
Gwaurodel- has two phases. First one, rather easy, just tank and interrupt her. Sometimes, she kicks the tank away and puts a threat debuff on him, you'll want to use force taunts to avoid her killing your dps. She does kick random players as well, but all her other abilities are rather harmless and easy to deal with. First phase shouldn't be a problem if you've made it past Balchneth. Second phase however, she starts to be dangerous. She has a vomit attack placing a disease DoT on every player hit, she has a frontal cleave AoE hitting rather hard and, if given the chance, she'll summon tentacles that work just like all other tentacles inside this instance, and she'll destroy every platform she climbs upon. At 75% health, there's quite a few worms spawning in to help her, these are the same worms you've encountered before just after the Balchneth boss encounter and if you want to survive them, you'll either have to kill them FAST or kite them. If you happen to kill them, the dead ones respawn at 50% and 25% of Gwaurondels health. There's two ways to approach second phase, and you'll have to figure out yourself what works best for you: Kite everything. This will destroy some platforms but if done correctly, can lower incoming damage quite significantly, and she won't be able to summon tentacles while playing catch with your tank. Stand and kill everything. Best done with a proper AoE dps, this tactic is much more controllable in regards to position and range, but incoming damage is higher and you'll have to deal with tentacles fast. Both approaches are possible
- Tier 1
- Tier 2
- Tier 3
Tips
- If you are grabbed by a tentacle you can free yourself if either you or another person interrupts that tentacle.
Limrafn, fumaroles and ghosts do an AoE explosion attack that can badly hurt if not a tank, or dps/heal with high mitigations. Fumaroles summon limrafn, slugs slow, tentacles pull you all over the place if left uninterrupted, ghosts can do quite some damage at a range, if not properly aggroed by your tank. Only adds that really do hurt are roots and worms. Roots, just make sure they hit your tank, pop some defensive skills and kill them FAST. Worms, however, the one place they do occur there are quite a few of them so killing them off fast enough is rather difficult. They cast DoT effects on random members of the group standing to close, they drain power, they are just overall jerks to deal with. We started just having our tank kite them around the two pillars where they are and kill them off as soon as possible. Makes grabbing and holding aggro a bit more difficult but reduces incoming damage by a massive amount.
Rewards
| "Oh, I do not know about this. I do not know about this at all!" —Bingo Boffin Accuracy This article is marked for checking accuracy. Please check other sources to verify if the information provided is correct. Some items with different stats share the same name. As a result, some links currently target the wrong item.'"`UNIQ--finalizedvar-0--QINU`"' |
| Balchneth's Chest - Common |
|---|
| Balchneth's Silver Chest - Common |
|---|
| Balchneth's Gold Chest - Common |
|---|
| Balchneth's Mithril Chest - Common |
|---|
Gallery
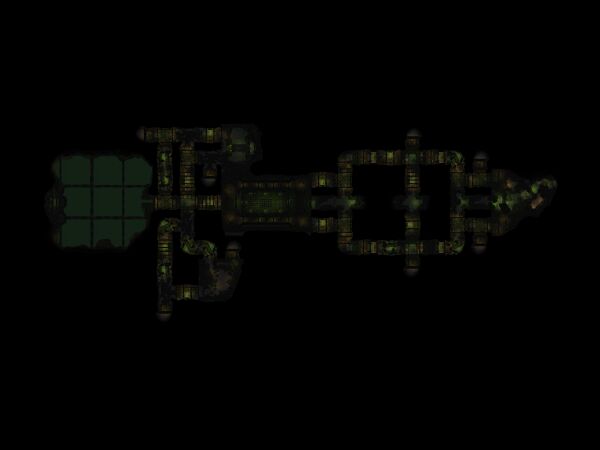
Map

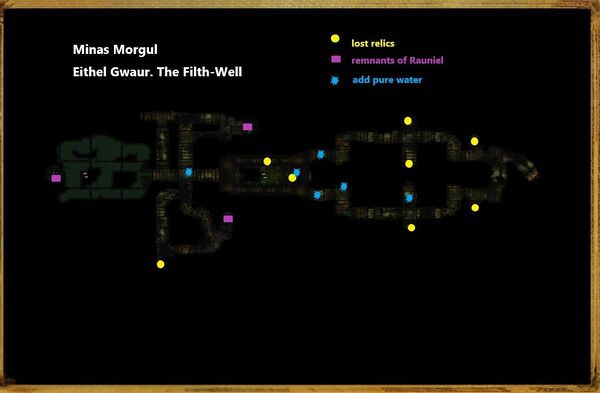
Daily Guide (annotated map)

| Minas Morgul Instances
| ||
|---|---|---|
| Small fellowship: | Eithel Gwaur • Gath Daeroval • Gorthad Nûr • The Harrowing of Morgul | |
| Fellowship: | Bâr Nírnaeth • Ghashan-kútot • The Fallen Kings | |
| Raid: | Remmorchant | |
