The Sixteenth Hall
| Level: | 58 |
| Size: | Fellowship |
| Cluster: | Mines of Moria |
| Region: | Moria |
| Area: | Nud-melek |
| Location: | [11.1S, 101.0W] |


"The dread malady that spreads among the servants of the Enemy in Moria is strong in the Sixteenth Hall. Whatever nameless thing dwells there has entrapped many an Orc to its service, poisoning their minds and controlling their actions."
Location
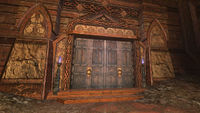
The entrance to the Sixteenth Hall is in Nud-melek. [11.1S, 101.0W] However, the instance itself takes place in the Redhorn Lodes.
Overview
The Sixteenth Hall is a 6-man instance in Nud-melek.
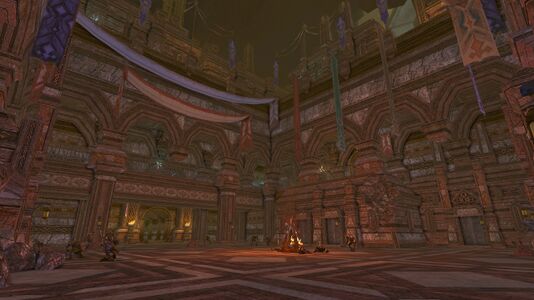
Amid the manses and bridges of Nud-melek sprawls the Sixteenth Hall, a warren of plazas and passageways lined with modest doors and lamps. Once a neighbourhood of peasant laborers, this hall is now a stronghold of the Enemy’s minions. Orcs stalk the passages, and shamans and soldiers crowd the plazas and pray at shrines to the Dark Lord.
But all is not well for these Orcs, even in their stolen territory. A strange fungus, perhaps discovered and disturbed in the Foundations of Stone to the south, has made them sick and crazed. Deep within the Sixteenth Hall, some Orcs have succumbed to this fungal plague, leaving them infected and malformed—and vulnerable.
The entrance is located next to a campsite at [11.1S, 101.0W] in Nud-melek.
Description how to get to the campsite: Take the path from the northern part of the Foundations of Stone and turn right when in Nud-melek.
Quests
All quests in the Sixteenth Hall are fellowship quests.
- [58] Secrets Long Forgotten (Optional) (Rune-keepers)
- [58] A Rune of Restoration: Lending a Hand (Non rune-keepers)
- [58] A Confounding Riddle (Optional) (Burglars)
- [58] The Path of the Mischief Maker: Lending a Hand (Non burglars)
- [60] The Fungus Among Us
- [60] Infected Samples
- [60] Leaders of the Hosts
- [60] The Vile Infected
- [60] The Secret Beneath
- [60] Challenge: The Lost One (Daily) (repeatable)
These are not instance-specific, but can be completed in here:
- [60] Lothlórien Preparations I Repeatable
- [60] Lothlórien Preparations II Repeatable
Deeds
- Carriers of the Blight - Defeat 60 insects in the Sixteenth Hall
- Title: Bug-stomper
- Carriers of the Blight (Advanced) - Defeat 120 insects in the Sixteenth Hall
- Corruption in Command - Defeat the 3 sources of the blight within the Sixteenth Hall
- Title: Blight-scourge
- Fallen to Blight - Defeat 60 globsnaga in the Sixteenth Hall
- Title: Blight-cleanser
- Fallen to Blight (Advanced) - Defeat 120 globsnaga in the Sixteenth Hall
- Investigating the Blight - Collect 4 samples of the blight that is corrupting the Sixteenth Hall
- Title: Investigator
- Orcs of the Sixteenth Hall - Defeat 60 orcs in the Sixteenth Hall
- Title: the Hearty
- Orcs of the Sixteenth Hall (Advanced) - Defeat 120 orcs in the Sixteenth Hall
- Persevering Against the Blight - Complete all deeds in the Sixteenth Hall
- Title: Exterminator
Instance Overview
This instance will take 1.5 - 2 hours, depending on the expertise for pulling and success on the last, hardest boss.
It is advisable to take a Rain of Thorns-traited hunter or a lore-master in the group for crowd control, since you will be dealing with large groups of mobs all the time. Also, take enough disease potions with you. Captains are popular for the final fight with The Lost One.
After entering you will immediately see your first group of mobs. Wait for the patrolling orc to leave, root the mobs and pull some to the entrance. After they have been killed, take the others down. Note that all orcs but archers are immune to stunning. Any encountered archers can be kept stunned by a lore-master or burglar while the group takes the melee orcs down.
Continue through the hallway. There is only one clear path to follow, but you will encounter numerous groups of mobs there, which need to be killed in the same way. Be extra careful in the rooms, where you should pull small groups when the patrolling orcs are further away.
Tramug
The first boss, Tramug, will be in such a room. You will have to clear the room of mobs first: fight in the hallway and pull small groups. Now you should attack Tramug and his two Moria Servants. Since the servants continually heal Tramug, they need to be killed as soon as possible, while the main tank keeps Tramug busy with kiting. After the servants are killed the tank can stop kiting and the whole group can concentrate on Tramug. Once in a while Tramug will start coughing and yellow slime will spat in a circle around him. Just run away a few meters to avoid the stuff and fight further somewhere else in the room. Walking into the (soon numerous) yellow circles will give you a removable disease debuff.
After looting the chest you continue through the hallway in the south. You will again encounter groups of mobs, but there is a new species now: Bloated Globsnaga. These will explode and make 4-5 attacking crawlers appear if you come close. You can either walk around them or take it safe and kill them (also for completing the crawler-quest). You will eventually come to a staircase leading down with a big room at the bottom. Crowd-control small groups. At some points running Globsnaga appear. Kill them as soon as possible, or they will explode into crawlers.
After this room you will come to a crossroad. You have to clear the rooms to your left and right one by one, again using crowd-control. When a room is cleared you can turn a wheel. After both wheels are turned, the door to the second boss' room will be opened. Note that the creature needed for the rune-keeper's class quest can be summoned in the left room.
Dhûrz
Everyone enter simultaneously or gate closes locking out whomever isn't in when he engages.
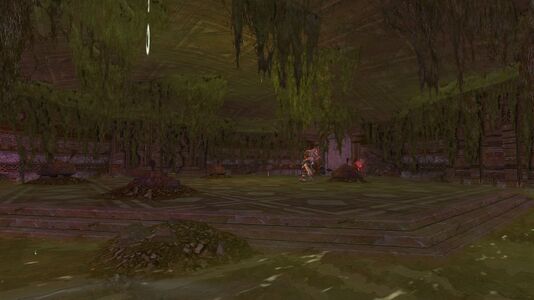
The second boss, Dhûrz, can be fought in the middle of the room. Give the tank enough time to gain aggro, because Dhûrz is easily distracted (for instance by hunters using too much DPS in the beginning of the fight). Sometimes globsnaga will appear, who need to be killed by the ranged fellows as soon as possible, before they explode into crawlers. There are also exploding mushrooms which will give a removable disease debuff if you stand near. Move away when they explode and otherwise use a disease pot. During the fight, Dhûrz will inflict a power-draining disease on the whole fellowship. Fellowship members must consequently make sure that they have enough disease potions as well as celebrant salves for power, if they have no lore-master. Due to the cooldown on potions, however, it is very likely that power will remain an issue throughout the fight.
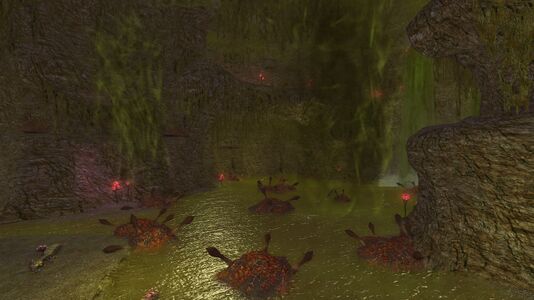
When Dhûrz is down you can loot the chest and continue through the newly opened door. You will enter an area with thousands of gredbyg and gredbyg queens. Follow the path down. Don't kill any of the small gredbyg, but focus on the queens. After a queen is killed, the surrounding gredbyg won't attack anymore and you can leave them. After you are down and have killed all queens, you need to jump down some ledgers. Below is the third boss' room, a toxic green pool with the Lost One and a LOT of gredbyg. The bad news is that these gredbyg will attack, although there is no queen. Don't enter just yet.
The Lost One (Challenge mode)
If you want to complete Challenge mode, no gredbyg may die before the Lost One is down. This means no AOE should be used during the fight, and no reflective gear should be worn (check especially for the popular Insidious Cuff). It is best to remove all AOE skills from the skillbars. Also, disable auto-attack under options. When this is done, all enter the boss' room at the same time - the door will quickly close.
At this point the fight will start. There are many many ways to complete Challenge mode, also depending on which classes there are. Here are some things you need to know:
- The Lost One
- Everyone should be killing this guy as long as there are no mushrooms. The tank could be on him all the time, or you can kite him between two hunters. It depends on the make-up of your group, really. The Lost One does much shadow damage (lore-masters, get that raven out).
- Gredbyg
- Since they won't be attacked, the gredbyg will probably go for the healer and interrupt all heals. This must be prevented, for instance by letting a secondary healer (i.e. captain or rune-keeper) heal at the starting of the fight to gather threat, get the gredbyg and kite them during the fight. After the secondary healer has aggro, the main healer can heal, but only when really necessary, to prevent getting more threat than the kiter.
- Mushrooms
- Once in a while, one or two mushrooms will pop up in corners of the room. They should be taken out as soon as possible (e.g. by ranged classes). After the mushrooms have disappeared, the mushroom-killers can return their DPS to the boss. This is why you want to take the mushrooms down so quickly; when they explode:
- They do acid damage that stacks if they are not killed
- They slow you down
- They speed the gredbyg up
- They make the gredbyg do more damage
- These last two things will have to be figured out still, I am not certain if they are both true.
Make sure you make appointments about who will tank, who will kite and who will deal with the mushrooms. Several options are mentioned at the LOTRO forum [1]. It is handy to use raid assistance targeting on a tank and a mushroom-person, so people will not use tab and accidentally fire at a gredbyg. If you kill one or more gredbyg before the boss dies, the Challenge will fail and the only thing you can do to receive the challenge again is disband and do the total 16th Hall all over again.
If you do not want to do challenge mode, just kill the gredbyg while a tank is on the boss. After that all can go on the boss (still watch out for the mushrooms). This way is quite easy compared to the challenge.
Mobs
Click [+] to expand a list of mobs found within the instance.
Bosses
| Level | Name | Difficulty | Species | Special |
|---|---|---|---|---|
| 60 | Tramug | Nemesis | Uruk | Two adds. Coughs give disease DoT |
| 60 | Dhûrz | Nemesis | Orc | Exploding mushrooms give disease DoT |
| 60 | The Lost One | Nemesis | Nameless | No adds may die to perform the Challenge |
Loot
Each chest contains stuff like:
- Heritage Runes of Lore (Weapon XP)
- Settings
- Third Age Legendary Weapons
- One Medallion(s) of Moria (3 extra medallions if you complete the daily challenge mode at the last boss)
These items have a chance to drop:
Tramug![]()
![]()
Dhûrz![]()
![]()
The Lost One (Challenge mode)![]()
![]()
![]()
![]() Item:Pouch of Pestilent Spores
Item:Pouch of Pestilent Spores![]()
![]()
Map
Gallery
| Settlements, Areas and Landmarks of Nud-melek
| ||
|---|---|---|
| Areas: | Second Hall | |
| Settlements: | None | |
| Landmarks: | Balin's Camp • The Bridge of Khazad-dûm • The Deep Crossroad • The First Hall • Khadar-zarâm • Khurjezer • Second Hall Camp-site • Rushdurinul • Sigin-tharâkh • Sudulthurkh • Zabadgathol | |
| Interiors: | ||
| Instances: | The Sixteenth Hall | |
| Mines of Moria Instances
| ||
|---|---|---|
| Fellowship: | Dark Delvings • Fil Gashan • Forges of Khazad-dûm • Forgotten Treasury • Skûmfil • The Grand Stair • The Sixteenth Hall | |
| Raid: | Filikul • The Vile Maw | |


